
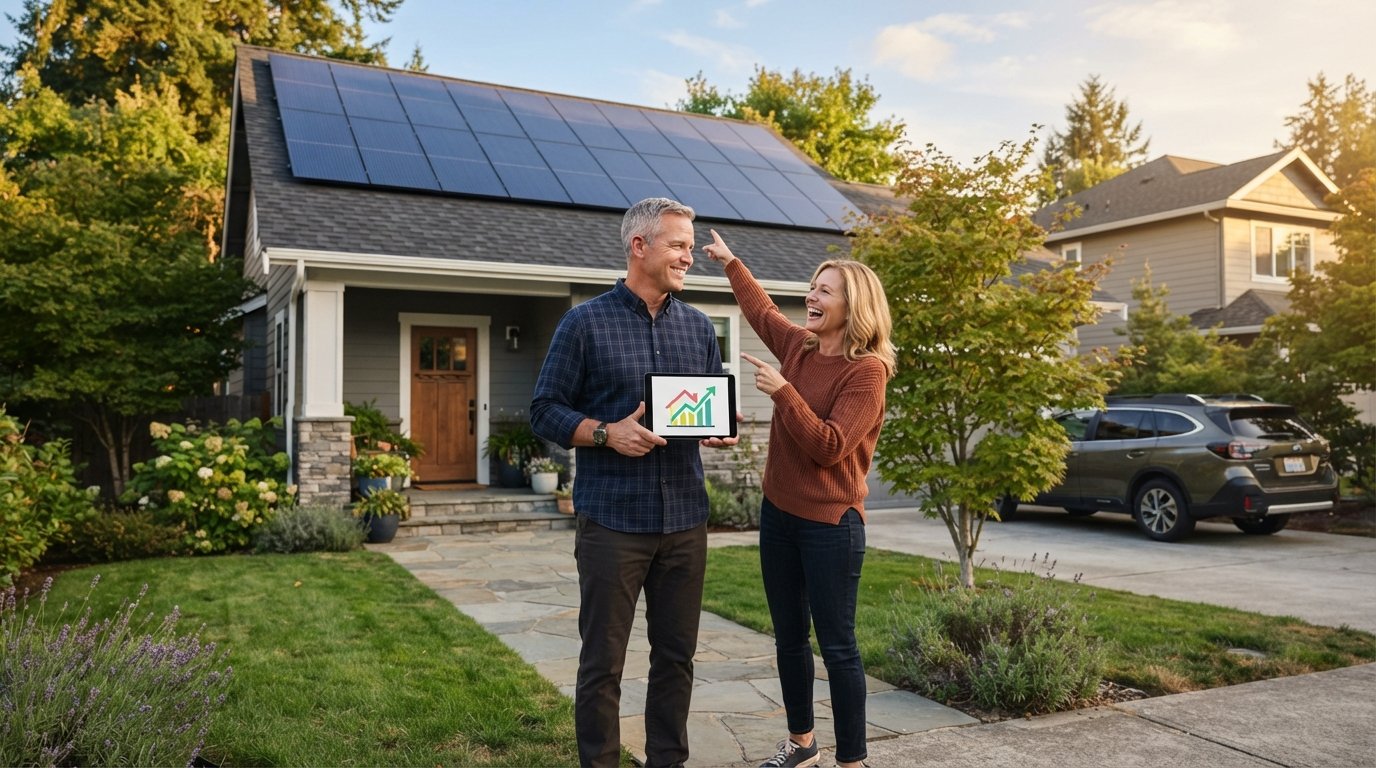
Solar Homeowner Guide: Key Steps for 2026
Learn the critical steps to a successful solar installation, including roof assessment, financing, and avoiding installer mistakes.

By Alex Carter
Learn more about Solar Panel Installation and Repair for guides, costs, and what to expect.
Compare Solar Panel Installation and Repair Pros Near You
Enter your ZIP code to compare top-rated local professionals and request free quotes.
If you are a homeowner watching your electric bill climb every summer, you have likely wondered whether solar panels are worth the investment. The short answer is yes for most households, but only if you approach the process with the right information. This solar homeowner guide walks you through every critical decision, from assessing your roof to choosing a financing plan and finding a certified installer. By the end, you will know exactly what questions to ask and which pitfalls to avoid.
Why Homeowners Are Going Solar in 2026
The energy landscape has shifted dramatically in the past few years. Utility rates have risen by an average of 4.5% annually over the last decade, and many states now face peak demand charges that punish afternoon usage. Solar panels offer a way to lock in lower, predictable electricity costs for 25 years or more. In addition, the federal Investment Tax Credit (ITC) still covers 30% of your system cost, making this one of the most financially attractive times to install solar.
Beyond the financial math, solar adds tangible value to your property. Studies from Zillow and the Lawrence Berkeley National Laboratory show that homes with solar panels sell for 4.1% more on average. That means a typical $400,000 home could see an extra $16,000 in resale value. When you combine energy savings, tax credits, and property value gains, the total return on investment often exceeds 20% annually, which beats most stock market averages.
Step 1: Assess Your Home's Solar Potential
Before you request quotes, you need to know whether your roof is actually a good candidate. Solar panels work best on south-facing roofs with a slope between 15 and 40 degrees, but east and west facing arrays can still generate 80% to 90% of maximum output. The critical factor is shading. If large trees or neighboring buildings block sunlight for more than four hours a day, your system will underperform.
You also need to consider your roof's age and condition. Most solar panels come with a 25 year warranty, so if your roof has only 10 years of life left, you will want to replace it before installing panels. A good installer will include a roof inspection in their assessment. They should also evaluate your electrical panel's capacity. Older homes with 100 amp service often need an upgrade, which adds $1,500 to $3,000 to the total cost.
How to Check Sun Exposure Yourself
You can do a quick preliminary check before inviting installers. Use Google's Project Sunroof or a similar tool to see your roof's solar potential. These tools estimate the number of peak sun hours your roof receives each day, which is the key metric for sizing a system. Most U.S. homes get between 4 and 5.5 peak sun hours, but your specific location matters.
If the tool shows less than 3.5 peak sun hours, solar may still be viable, but you will need a larger system to meet your energy needs. In that case, it is worth asking an installer about high-efficiency panels, which generate more power per square foot. Also, check your utility's net metering policy. Net metering credits you for excess electricity you send to the grid, and some states have moved to less generous buyback rates. Your installer should explain how your utility compensates solar customers.
Step 2: Understand Solar Equipment Options
Not all solar panels are created equal. The three main types are monocrystalline, polycrystalline, and thin film. Monocrystalline panels are the most efficient, with ratings between 19% and 22%, and they work best in limited roof space. Polycrystalline panels are cheaper but slightly less efficient, while thin film panels are flexible and lightweight, though they degrade faster and take up more space.
Inverters are the second critical component. String inverters are the most common and cost effective, but they have a downside: if one panel is shaded, the whole string's output drops. Microinverters, installed on each panel, avoid this problem and allow you to monitor individual panel performance. Power optimizers offer a middle ground, pairing with a central inverter while still maximizing output. For most homeowners, microinverters are worth the extra $1,000 to $2,000 because they improve performance and simplify maintenance.
Battery storage is the third piece to consider. A solar battery like the Tesla Powerwall or LG Chem RESU lets you store excess energy for use at night or during outages. While batteries add $10,000 to $15,000 to your project, they provide energy independence and can increase your savings in states with time of use rates. If you live in an area with frequent power outages, a battery is a wise investment. If not, you can start with a solar only system and add a battery later, as most systems are designed to be expandable.
Step 3: Compare Financing Options Carefully
How you pay for solar is just as important as the equipment itself. The three main options are cash purchase, solar loan, and lease or power purchase agreement (PPA). Each has distinct trade offs.
- Cash purchase: You pay the full system cost upfront, which ranges from $15,000 to $30,000 after tax credits. This gives you the highest long term savings because you avoid interest and own the system outright.
- Solar loan: You finance the system with a monthly payment, often $100 to $200. You own the system and qualify for the tax credit, but you pay interest over 10 to 20 years.
- Lease or PPA: You pay a fixed monthly rate for the electricity the panels produce, with no upfront cost. The installer owns and maintains the system, but you do not qualify for tax credits and your savings are lower.
For many homeowners, a solar loan is the best balance of affordability and return. Look for loans with no prepayment penalty and a low APR. Some lenders offer 0% down, 20 year terms with rates around 4% to 6%. The key is to compare the total cost of the loan against your expected savings. A good rule of thumb: your monthly loan payment should be lower than your average monthly electric bill, otherwise the system does not make financial sense.
When you receive quotes, ask for a cash price and a financed price separately. Some installers inflate the financed price to cover dealer fees, which can hide the true cost. The federal tax credit is based on the cash price, so make sure you know that number. Also, verify that the installer will help you claim the ITC, as the credit is applied to your federal income tax, not to the system price.
Step 4: Choose the Right Installer
The quality of your installation determines everything from system performance to your ability to claim warranties. A poorly installed system can leak, underperform, or even create fire hazards. That is why you should never choose an installer based on price alone. Instead, focus on credentials, experience, and reputation.
Start by looking for installers that are certified by the North American Board of Certified Energy Practitioners (NABCEP). This certification is the gold standard in the industry. Also, check that the company is licensed and insured in your state, and ask for proof of workers' compensation coverage. A reputable installer will have no problem providing these documents.
Next, read reviews on Google, Yelp, and the Better Business Bureau. Pay attention to how the company handles complaints. A few negative reviews are normal, but a pattern of poor communication or unresolved issues is a red flag. Ask for references from recent customers, and contact a few to ask about their experience, especially regarding the timeline and post installation support.
Finally, get multiple quotes. This is the single most important step in the entire process. Prices can vary by as much as 30% for the same system. That is why NewSolarQuotes offers a free quote comparison service. Instead of contacting five installers individually, you can submit one request and receive up to three quotes from vetted local professionals. This saves you time and ensures you are comparing apples to apples.
Step 5: Navigating Permits and Inspections
Once you sign a contract, the installer will handle most of the paperwork, but you should understand what is happening. Solar installations require a building permit and an electrical permit from your local government, and your utility may need to approve an interconnection agreement. These steps can take anywhere from two weeks to three months, depending on your area.
A good installer will manage the permit process and schedule the necessary inspections. However, you should still ask about the timeline and who is responsible for each step. Also, check with your homeowners association (HOA) early in the process, as some HOAs have aesthetic restrictions that could affect panel placement. If your HOA requires approval, factor that into your timeline.
During the final inspection, the local building official will verify that the system meets electrical code and that all safety features are in place. After passing inspection, you will receive permission to operate (PTO) from your utility, which allows you to turn the system on. Your installer should handle this process and provide you with a copy of the PTO letter.
Maximizing Your Solar Savings
Once your system is live, your savings depend on how you use electricity. The most effective strategy is to shift your heavy energy use to daylight hours, when your panels are producing the most power. Run your dishwasher, laundry, and pool pump during the middle of the day. Set your thermostat to pre cool your home in the afternoon, so the AC runs less in the evening.
Monitor your system's performance regularly. Most modern inverters come with an app that shows real time production. If you notice a sudden drop in output, it could indicate a panel issue or shading from a new obstruction. Your installer should offer a monitoring service, but you can also check the app yourself. Also, keep your panels clean. Dust, leaves, and bird droppings can reduce output by 5% to 15%. In most climates, rain will do the job, but during dry spells, a gentle rinse with a hose can help.
Finally, remember that your energy needs will change over time. If you buy an electric vehicle or add a heat pump, your system may no longer cover 100% of your usage. Plan ahead by choosing a system size that gives you a little extra capacity, and consider whether your inverter has room for additional panels. Many systems can be expanded within the first year, but it becomes more difficult later.
Common Mistakes to Avoid
Even well informed homeowners can make costly errors. The most common mistake is choosing the cheapest quote without checking the installer's reputation. Low prices often mean lower quality equipment or inexperienced labor, which can lead to problems down the road. Always balance cost with quality.
Another mistake is ignoring your utility's net metering policy. If your utility offers only a low export rate, you will want to maximize self consumption with a battery or by shifting usage. Also, avoid signing a contract with a company that pressures you to act immediately. A legitimate installer will let you take time to compare offers.
Finally, do not forget about the 30% federal tax credit. Some installers will offer to 'include' the credit in their price, but you should always claim it yourself on your tax return. The credit is based on the gross system cost, not the net cost after incentives. Keep all your receipts and ask your installer for an itemized invoice, which you will need when filing your taxes.
Your Next Step: Get Multiple Quotes
The solar industry has matured, and the technology is more reliable and affordable than ever. But the key to a successful project is making informed decisions at every step. This solar homeowner guide has covered the essentials: assessing your roof, choosing equipment, financing, and selecting an installer. Now it is time to put that knowledge into action.
The best way to start is by getting multiple quotes from qualified installers. NewSolarQuotes makes this easy. Our free service connects you with up to three certified professionals in your area, all vetted for quality and experience. You will receive detailed quotes that include equipment, pricing, and estimated savings, so you can compare confidently. There is no obligation, and the service is completely free for homeowners.
Take the first step toward lower bills and energy independence. Request your solar quotes today and see how much you can save.
Learn more about Solar Panel Installation and Repair for guides, costs, and what to expect.
Compare Solar Panel Installation and Repair Pros Near You
Enter your ZIP code to compare top-rated local professionals and request free quotes.