When you start thinking about solar power for your home, the first question is often about where to begin. The process involves more than just picking panels and signing a contract. Proper solar installation planning near me requires a clear understanding of your property, your energy usage, and the local rules that shape your options. Without a structured approach, homeowners risk overpaying for equipment, missing out on incentives, or installing a system that underperforms. This guide walks you through every critical step so you can make informed decisions and avoid costly mistakes.
Assess Your Home’s Solar Readiness
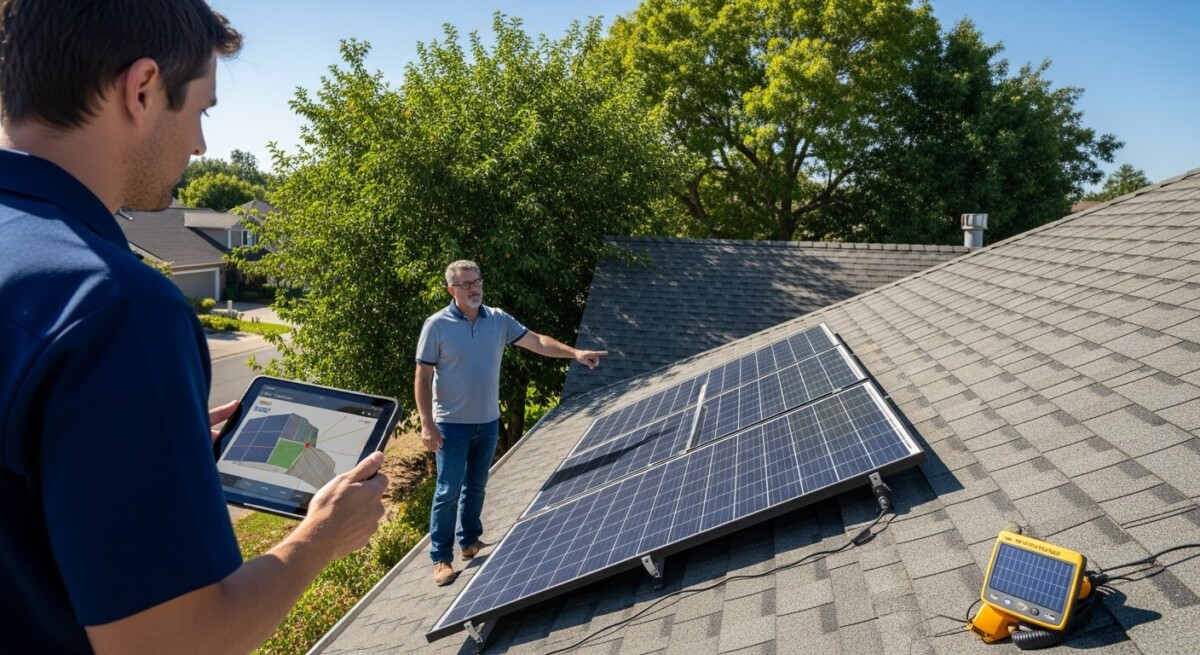
Before reaching out to installers, take an honest look at your property. Solar panels need direct sunlight for most of the day, so start by examining your roof orientation, shading, and structural condition. South-facing roofs in the northern hemisphere capture the most sunlight, but east and west orientations can also work well depending on your energy consumption patterns. Use a solar pathfinder or a simple shading analysis app to identify obstructions like nearby trees, chimneys, or neighboring buildings that might block sunlight during peak hours.
Your roof’s age and material matter just as much as its angle. Asphalt shingle roofs in good condition are ideal, while tile, metal, or flat roofs may require specialized mounting hardware. If your roof is more than 10 years old, consider replacing it before installation. Solar panels last 25 to 30 years, and removing them for a roof replacement later adds significant cost. A structural engineer or a certified installer can verify that your roof can support the additional weight of panels and racking equipment.
Evaluating Your Electrical Panel
Your home’s electrical panel must be able to handle the additional load from a solar system. Most modern panels are compatible, but older homes with 100-amp service may require an upgrade. Inspect your panel for available breaker slots and overall condition. A licensed electrician can confirm whether a panel upgrade is necessary, and many installers include this assessment in their initial site visit. Budget for a possible upgrade, as it typically costs between $1,000 and $3,000 depending on local labor rates and permit fees.
Understand Your Energy Usage and Goals
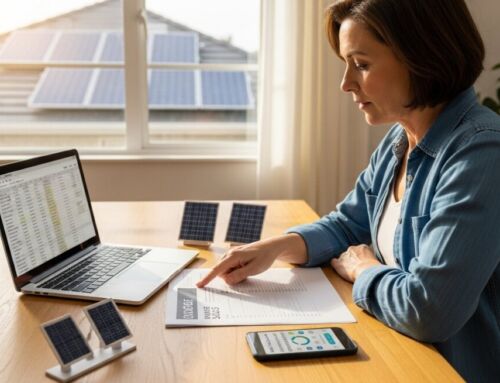
Your electric bill holds the key to sizing your solar system correctly. Gather 12 months of utility statements to see your seasonal usage patterns. Look for the kilowatt-hour (kWh) totals, not just the dollar amounts. The average U.S. home uses about 886 kWh per month, but your number could be higher or lower depending on appliances, HVAC systems, and family size. A solar system sized to offset 100% of your usage will require more panels than one designed to cover 80%, so decide on your target before talking to installers.
Think about future changes that could increase your energy consumption. Are you planning to buy an electric vehicle, install a heat pump, or add a home addition? If so, factor that into your system design now. Adding more panels later is more expensive and may require new permits and structural modifications. A well-planned system grows with your needs without requiring a complete overhaul.
Research Local Solar Incentives and Policies
Incentives can dramatically reduce your upfront costs, but they vary by state, utility, and even city. The federal Investment Tax Credit (ITC) currently offers a 30% tax credit on the total system cost, and this applies to systems installed through 2032. Many states add their own tax credits, rebates, or performance-based incentives. For example, California offers the Self-Generation Incentive Program (SGIP) for battery storage, while New York has the NY-Sun initiative that provides upfront rebates.
Net metering policies also affect your long-term savings. Net metering lets you sell excess electricity back to the grid at retail or near-retail rates. Some utilities have moved to net billing or time-of-use rates, which change how credits are calculated. Check your utility’s current policy because this directly impacts your payback period. Local solar installers are usually familiar with these programs, but you can also find details on the Database of State Incentives for Renewables & Efficiency (DSIRE) website.
Choose the Right Solar Equipment
Solar panels, inverters, and racking systems come in many varieties, and each affects performance and longevity. Monocrystalline panels are the most efficient and look sleek with a uniform black appearance. Polycrystalline panels cost less but have lower efficiency, meaning you need more roof space for the same output. Thin-film panels are lightweight and flexible but rarely used for residential installations due to lower efficiency.
Inverters are equally important. String inverters work for simple roof layouts with no shading, while microinverters optimize each panel individually, making them ideal for roofs with partial shade or multiple orientations. Power optimizers combine features of both: they condition power at the panel level but send it to a central inverter. Your installer should explain which option fits your roof’s unique conditions.
When reviewing quotes, compare the following specifications across bids:
- Panel wattage and efficiency rating (look for 350W or higher for modern panels)
- Inverter type and warranty length (standard is 10 to 12 years, extended options available)
- Racking system compatibility with your roof material
- Performance guarantee (most manufacturers guarantee 80% to 92% output after 25 years)
These details help you compare apples to apples rather than just the total price. A slightly more expensive system with higher efficiency and a longer warranty often delivers better lifetime value.
Get Multiple Quotes and Compare Financing
Never accept the first quote you receive. Industry standards suggest comparing at least three proposals from different installers. Each quote should include a detailed breakdown of equipment costs, labor, permit fees, and any applicable discounts. Ask for a production estimate in kilowatt-hours per year, not just system size in kilowatts. This estimate should be based on your specific roof and local weather data, not a generic calculation.
Financing options vary widely. Cash purchases offer the best long-term savings because you avoid interest and fees. Solar loans let you spread payments over 10 to 20 years, with interest rates ranging from 3% to 8% depending on your credit. Solar leases and power purchase agreements (PPAs) require no upfront money but lock you into a fixed rate per kWh, and you do not own the system. Ownership is almost always more profitable over time because you qualify for tax credits and net metering benefits.
For a deeper look at how these choices affect your overall savings, our comprehensive guide on solar installation planning near me explains how to evaluate financing terms and compare installer bids side by side.
Verify Installer Credentials and Reviews
A certified installer protects your investment and ensures the system meets local building codes. Look for the North American Board of Certified Energy Practitioners (NABCEP) certification, which is the gold standard for solar professionals. State licenses, general liability insurance, and workers’ compensation coverage are also non-negotiable. Ask for references from recent customers and check online reviews on platforms like the Better Business Bureau, Google, and EnergySage.
Beware of installers who pressure you into signing the same day or offer deals that seem too good to be true. Legitimate solar companies provide transparent pricing and give you time to review the contract. A reputable installer will also handle the permitting process and schedule inspections with your local building department. If they ask you to pull permits yourself, consider that a red flag.
Plan for Permits and Inspections
Solar installations require building permits and electrical permits in almost every jurisdiction. Your installer typically manages this process, but you should understand the timeline. Permit approval can take anywhere from a few days to several weeks depending on your city’s workload. Some areas also require a structural review if your roof has unusual loads or a historic designation.
After installation, a local inspector will verify that the system meets code and that all electrical connections are safe. The utility company may also perform a separate inspection before approving grid interconnection. Once approved, you can turn on the system and start generating power. Delays are common, so build a buffer into your expectations. The article on solar installation planning near me: save on energy bills includes tips for navigating common permitting hurdles.
Understand the Installation Timeline
A typical residential solar installation takes one to three days for the physical work, but the full process from contract to activation spans several weeks. Here is a realistic timeline:
- Site assessment and design (1 to 2 weeks)
- Permit submission and approval (2 to 6 weeks)
- Equipment ordering and delivery (1 to 3 weeks)
- Installation day (1 to 3 days)
- City and utility inspections (1 to 4 weeks)
- System activation and net meter installation (1 to 2 weeks)
Weather and equipment availability can extend these windows. Ordering panels early in the year or during off-peak seasons often speeds things up. Communicate with your installer regularly to stay informed about any changes to the schedule.
Monitor Your System After Installation
Once your system is live, monitoring ensures it performs as expected. Most inverters come with a monitoring platform that shows real-time production and alerts you to faults. Check your production monthly and compare it to the estimate from your installer. If you notice a significant drop, contact your installer immediately to diagnose the issue. Many performance problems are covered under warranty, but catching them early prevents lost savings.
Keep all paperwork, including permits, warranties, and interconnection agreements, in a safe place. These documents are important if you sell your home or need to file a warranty claim. Some monitoring platforms also let you export production reports, which can be useful for proving system value to potential buyers.
Proper planning turns a complex solar installation into a smooth, rewarding upgrade for your home. By assessing your property, understanding your energy needs, researching incentives, and choosing the right installer, you set yourself up for decades of clean energy savings. Start your planning today with a clear checklist and a trusted partner, and you will be generating your own power sooner than you think.