
Solar Inspection Guide: What to Expect
Navigate solar installation inspections with confidence. Learn the difference between local and utility reviews, common pitfalls, and how to get PTO faster.

By Alex Carter
Learn more about Solar Panel Installation and Repair for guides, costs, and what to expect.
Compare Solar Panel Installation and Repair Pros Near You

Enter your ZIP code to compare top-rated local professionals and request free quotes.
You have signed the contract, the panels are on your roof, and the system is humming. But before you can flip the switch and start saving, one critical step remains: the solar installation inspection. For many homeowners, this phase feels like a mysterious hurdle between installation and activation. It does not have to be. Navigating solar installation inspections what to expect boils down to understanding two separate reviews, preparing your property, and knowing who is responsible for what. This guide walks you through the entire process, from the initial utility review to the final permission to operate, so you can avoid delays and start generating clean energy sooner.
Why Inspections Are a Non-Negotiable Step
Solar inspections are not bureaucratic red tape designed to slow you down. They exist to protect you, your investment, and the electrical grid. A typical residential solar array connects directly to your home's electrical panel and, through it, to the local utility grid. An improperly installed system can create fire hazards, damage equipment, or feed electricity back into the grid in an unsafe manner. Inspections verify that your installation meets all local building codes and electrical standards, ensuring the system operates safely for decades.
Beyond safety, inspections are required to activate your system's net metering or other incentive programs. Most utilities will not allow you to connect your solar array to the grid until it has passed a formal review. This means no inspections, no permission to operate, and no savings on your electric bill. Understanding this link between inspections and your financial return is the first step in navigating solar installation inspections what to expect.
The process typically involves two distinct inspections: one by your local government (often the city or county building department) and one by your utility company. While they share the goal of safety, they focus on different aspects. Local inspections verify compliance with the National Electrical Code (NEC) and local building standards. Utility inspections focus on grid interconnection, ensuring your system cannot send power to the grid during an outage, a feature known as anti-islanding. Both are essential, and knowing which inspector is at your door helps you prepare effectively.
The Local Building Inspection: What They Check
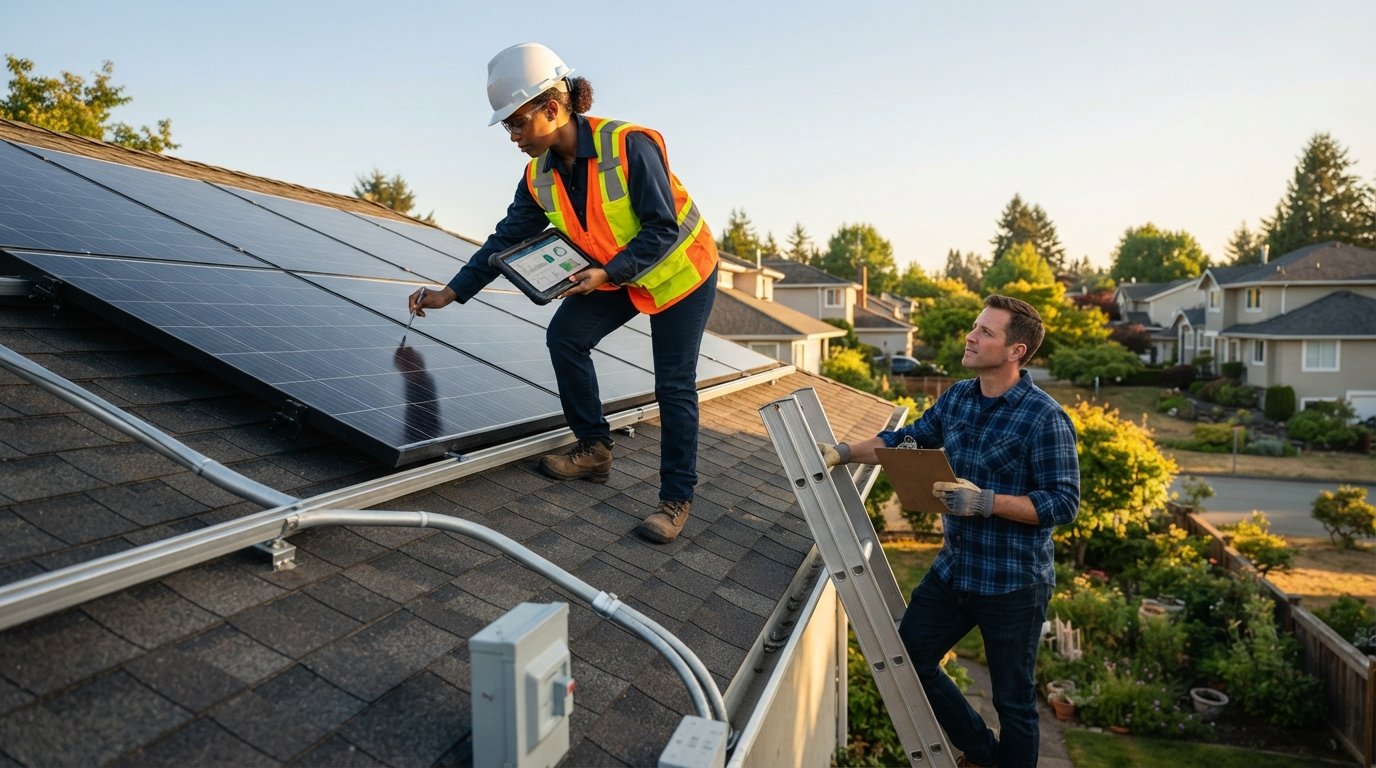
The local building inspection is the first gate you must pass. This inspector, often from the city or county, reviews the physical installation to confirm it matches the approved permit plans. They are looking for code compliance, not design aesthetics.
Here is what the local inspector typically examines:
- Panel mounting and racking: They verify the racking system is properly anchored to the roof structure and meets wind and snow load requirements for your area.
- Electrical wiring: They check that all DC and AC wiring is properly sized, secured, and protected in conduit where required. They look for exposed wires, loose connections, and improper grounding.
- Labeling and disconnects: Solar systems require specific labels on disconnects, inverters, and the main panel. The inspector confirms that all required labels are present and legible.
- Inverter installation: They ensure the inverter is mounted in an accessible location with proper clearance, and that it is connected according to code.
- Main panel upgrades: If your project included a main panel upgrade, they verify it was done correctly and that the new panel is properly bonded and grounded.
This inspection is not a pass or fail exam for you, it is a verification process. The installer is responsible for passing this inspection, and most reputable companies will handle scheduling and walkthroughs with the inspector. However, you should be present or at least available by phone in case the inspector has questions about access or your electrical usage.
Preparing for the Local Inspection
To ensure a smooth local inspection, take a few proactive steps. First, clear any clutter around your electrical panels, inverters, and the main disconnect. The inspector needs clear access to these components. Second, ensure your pets are secured, as inspectors may need to go into your backyard or garage. Third, have your permit paperwork and any interconnection agreement readily available. Finally, walk around your property and visually inspect the installation yourself. Look for any obvious issues, like loose wiring or unsecured conduit, and report them to your installer immediately. A quick pre-inspection can prevent a failed inspection and a costly reschedule.
If the inspector does flag an issue, do not panic. Minor corrections are common and are typically handled by your installer within a few days. The inspector will allow a certain period, often 30 days, for the installer to make the fixes and request a re-inspection. The key is to communicate clearly with your installer and keep track of the timeline to avoid permit expiration.
The Utility Interconnection Review: A Different Kind of Gate
While the local inspection focuses on physical safety, the utility review is about grid stability and safety. This process is often less visible to the homeowner, as it may not require a physical site visit. Instead, the utility reviews your system's specifications and your installer's documentation to ensure it meets their interconnection requirements.
The utility will typically check the following:
- Equipment certifications: Your inverter and panels must have UL or equivalent certifications. The utility verifies these are on the approved equipment list.
- System size and capacity: They confirm the system size matches the approved interconnection application and does not exceed the limit for your service type.
- Anti-islanding capability: This is a critical safety feature. The utility ensures your inverter will automatically shut down if it detects a grid outage, preventing your system from back-feeding power to the grid and endangering line workers.
The utility review process can be a source of delay, especially if your installer submitted incomplete paperwork or if the utility has a backlog of applications. Navigating solar installation inspections what to expect during this phase means being patient but persistent. You can ask your installer for a timeline and check on the status with your utility's interconnection department if it exceeds that window. Some utilities allow you to track the application status online. Remember, the utility review is not a pass or fail on your roof's workmanship, but a paper and compliance check on the equipment and its settings.
Why the Utility Review Can Take Longer
Unlike the local inspection, which can be scheduled within days, the utility review can take anywhere from a few weeks to a few months. This timeline depends on the utility's workload, the complexity of your system, and the completeness of the submitted paperwork. In some regions, smaller utilities have a simpler process, while larger ones might have a dedicated solar queue. Homeowners can help by ensuring their installer submits all required documents promptly and accurately. A single missing line on a form can reset the entire review clock.
Once the utility approves your application, they will issue a Permission to Operate (PTO). This is the final green light that allows you to turn on your system and start using the power it generates. Before PTO, your system should remain off, even if it is producing power. Operating before PTO is a violation of your interconnection agreement and could result in fines or delays.
Common Inspection Pitfalls and How to Avoid Them
Even with a professional installer, inspections can reveal issues that lead to delays. Being aware of these common pitfalls can help you ask the right questions and keep your project moving.
Here are the most frequent issues found during solar inspections:
- Improper grounding and bonding: This is one of the top reasons for inspection failures. All metal components, including panels and racking, must be properly grounded to prevent electrical shock.
- Missing or incorrect labels: Solar systems have specific labeling requirements, such as 'Solar PV Disconnect' and 'Main Disconnect.' Missing or illegible labels are a quick fix but a common oversight.
- Conduit and wiring issues: Exposed wiring without proper conduit, or using the wrong type of conduit for outdoor use, can fail an inspection.
- Main panel incompatibility: If your main panel is not rated for a back-fed breaker from your solar system, you may need a panel upgrade, which requires a separate permit and inspection.
- Inverter location: Inverters must be installed in a location that is accessible to firefighters and utility workers, often with a specific clearance from the ground and other objects.
To avoid these pitfalls, choose an experienced installer with a strong track record of passing inspections. Ask them about their internal quality control process. Do they have a crew member perform a pre-inspection before calling the city? A reputable installer, like the ones you can find through FreeSolarPowerQuotes, will have a checklist and will not leave your site until they are confident the work will pass.
If you want to understand the financial side of hiring a professional, you might also be interested in our guide on solar installer salaries, which can give you insight into the level of expertise you are paying for.
What Happens After the Inspection?
Once both the local and utility inspections are complete, you enter the final phase: activation. If your local inspection passed, your installer can proceed with the utility interconnection. After the utility issues PTO, your installer will schedule a final visit to turn on the system and walk you through its operation. This is the moment you have been waiting for, your system is now live and generating power.
From this point forward, you should monitor your system's performance through its monitoring app or display. Your utility may also install a new bi-directional meter if they have not already done so. This meter records both the electricity you draw from the grid and the excess power you send back. With net metering, you will receive credits for that surplus power, which can offset your usage at night or on cloudy days.
Remember that inspections do not end after the initial activation. Some jurisdictions may require periodic inspections, especially if you later add a battery storage system. Additionally, if you ever need to repair or modify your solar system, you may trigger another inspection. Keeping your permit paperwork and inspection records organized will make any future changes easier.
Ultimately, the inspection process is a safeguard that ensures your solar investment pays off for years to come. It protects your home, your family, and the grid. By knowing what to expect and working with a transparent installer, you can turn this administrative hurdle into a simple step toward energy independence.
Ready to take the next step? Get free, no-obligation quotes from vetted solar installers in your area and start your journey with confidence.