
Adding Solar Batteries to an Existing System
Adding a battery to your current solar panels boosts savings, provides backup power, and increases home value. Learn how to retrofit storage today.

By Andy Pearson
Learn more about Solar Panel Installation and Repair for guides, costs, and what to expect.
Compare Solar Panel Installation and Repair Pros Near You

Enter your ZIP code to compare top-rated local professionals and request free quotes.
Your solar panels have been quietly turning sunlight into savings for years. But every evening, you still watch your meter spin backward and forward, and you know the energy you produced during the day is being sold back to the grid for pennies on the dollar. That is exactly why so many homeowners are now considering integrating solar batteries with existing solar system setups. A battery lets you store that daytime energy for nighttime use, which means fewer utility purchases, better protection during outages, and a smarter return on the investment you have already made.
The good news is that retrofitting a battery is rarely a full-system rebuild. Most modern inverters and panels work beautifully with storage, and installers complete the job in a day or two. The real work happens before any equipment is mounted: understanding your energy habits, checking your current hardware, and planning the financial picture. This article walks you through every step of that process so you can make an informed decision about adding storage to your home.
Why Add a Battery to an Existing Solar Array?
When you first went solar, you likely sized your system to offset your annual electricity usage. Without a battery, any excess power your panels produce flows to the grid, earning you a credit through net metering. That arrangement works well, but it loses value if your utility reduces those credits or if you simply want to use your own power instead of buying it back at night. A battery shifts that dynamic entirely.
Batteries also deliver resilience. If your area experiences severe weather, aging infrastructure, or rolling blackouts, a battery keeps your lights on and your refrigerator running. Some homeowners pair their battery with critical loads like medical devices, well pumps, or home offices. Others choose to power the whole house, though that requires a larger battery and sometimes a second inverter. The peace of mind alone often justifies the expense, but the financial benefits are equally compelling.
- Time-of-use savings: Charge the battery when rates are low and discharge it when rates spike.
- Backup power: Keep essential circuits running during grid failures.
- Increased self-consumption: Use more of the clean energy your panels produce.
- Future-proofing: Stay ahead of utility rate changes and evolving grid policies.
Beyond the individual benefits, adding storage increases the value of your property. Real estate studies consistently show that homes with solar plus storage sell faster and at a premium compared to homes with solar alone. Buyers recognize that a battery-equipped home offers energy independence, and that appeal translates directly into market price. If you ever decide to sell, your battery becomes a powerful selling point.
What You Need to Check Before You Buy
Before you contact an installer, you need to evaluate a few technical details. The most important component is your inverter. If you have a string inverter, which is a single box that converts power from all your panels, you will likely need to add a separate battery inverter or replace the whole unit with a hybrid inverter. If you have microinverters, which sit under each panel, the process is simpler, because most battery systems work independently of your existing inverter setup.
Your panel capacity also matters. If your system is undersized and you barely produce enough to cover your daytime usage, a battery will not have much excess energy to store. In that case, you might need to add more panels first. Conversely, if you have a large array that generates significant surplus, a battery will soak up that unused energy and make your system far more efficient.
You should also review your utility's interconnection rules. Some utilities require a new application when you add storage, and others have specific limits on system size. Your installer can handle this paperwork, but it helps to know what to expect. Finally, consider your physical space. Most home batteries are wall-mounted units that take up about the space of a small water heater. You will need a clear wall area, ideally near your main electrical panel, with adequate ventilation and access for maintenance.
Compatibility with Your Existing Inverter
Battery compatibility is the single most common source of confusion. AC-coupled batteries, which include most popular units like the Tesla Powerwall and LG Resu, connect to your home's electrical panel alongside your existing solar inverter. They simply take AC power from your panel, convert it to DC for storage, and then convert it back to AC when you need it. This makes them incredibly versatile and easy to retrofit.
DC-coupled batteries, on the other hand, connect directly to your solar array before the inverter. They are more efficient because they avoid multiple conversions, but they typically require a specific hybrid inverter. If you already have a string inverter, switching to a DC-coupled system means replacing that inverter entirely. Most homeowners choose AC-coupled batteries for retrofit projects because they are less invasive and work with virtually any solar setup.
Your installer will verify that your chosen battery meets local code requirements and that your panel can handle the additional load. In rare cases, you may need to upgrade your main electrical panel to accommodate the battery's breaker. This is more common in older homes, so factor that potential cost into your budget.
The Financial Case for Battery Retrofit
The upfront price of a home battery ranges from roughly $8,000 to $15,000, plus installation labor. That is a significant investment, but the financial picture improves dramatically when you factor in incentives. The federal solar investment tax credit (ITC) currently covers 30% of battery costs when the battery is charged by solar, and many states offer additional rebates. For example, California's Self-Generation Incentive Program has historically covered a substantial portion of battery costs, and Massachusetts offers similar support through its SMART program.
Your payback period depends on your utility rates and your consumption patterns. If you live in a state with time-of-use pricing, a battery can save you hundreds of dollars per year by letting you avoid peak rates. In states with low or no net metering, the savings are even larger, because you stop selling your excess energy at wholesale prices and instead use it yourself. Over the battery's 10 to 15 year lifespan, the cumulative savings often exceed the initial cost.
Financing options also make batteries more accessible. Many installers offer solar loans that include battery storage, and some utilities provide on-bill financing. If you are currently paying a monthly electric bill that exceeds your loan payment, you can actually improve your cash flow by adding storage. The combination of lower utility bills, tax incentives, and increased home value makes the financial case compelling for most homeowners.
How the Installation Process Works
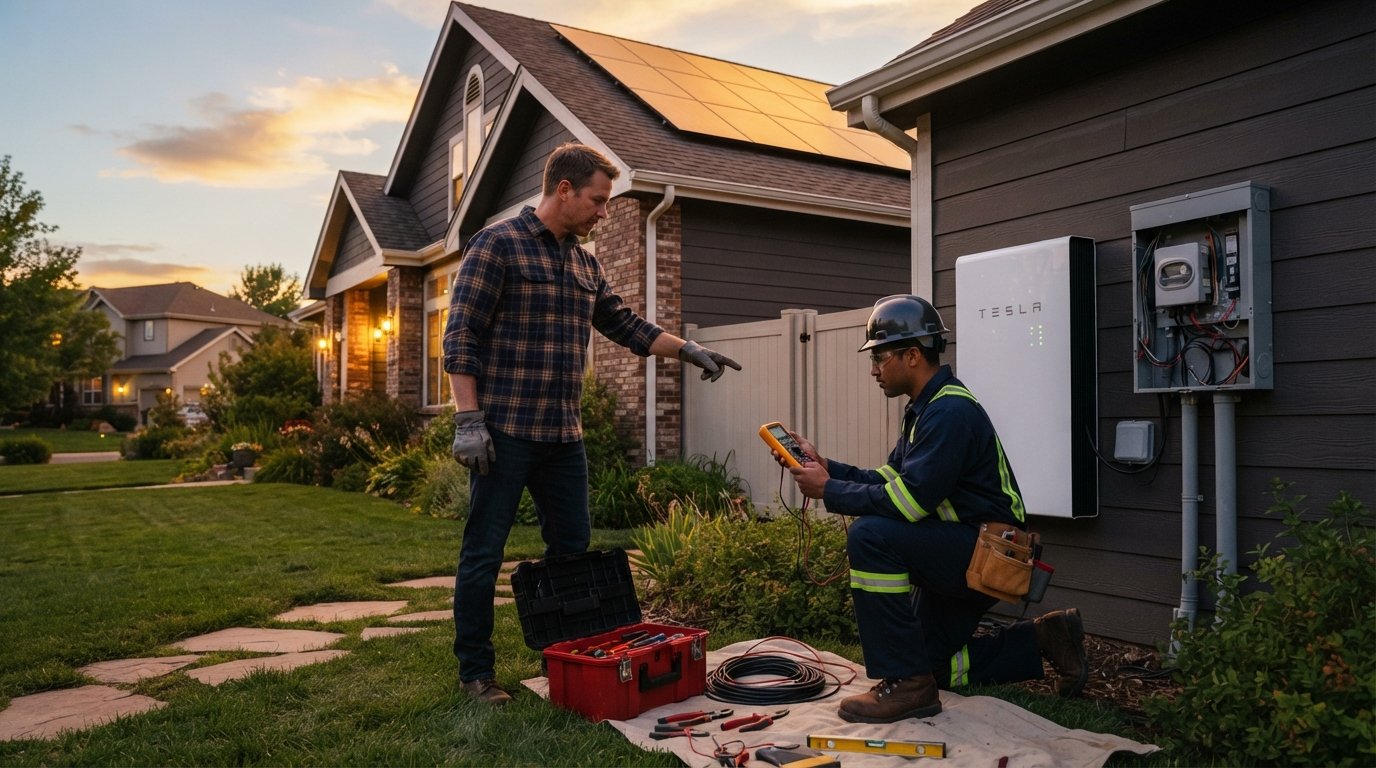
Once you have selected your battery and your installer, the installation itself is usually straightforward. The crew will mount the battery on your wall, connect it to your main electrical panel, and integrate it with your existing solar system. They will also install a monitoring device so you can track your charging and discharging in real time. Most installations take between four and eight hours, and your home will only be without power for a brief period while the crew makes the final connections.
After installation, your installer will test the system to ensure it operates correctly. They will verify that the battery charges from your solar panels, that it responds to grid outages, and that all safety mechanisms function properly. You will receive a user guide and a login to the battery manufacturer's app, which lets you control settings like backup reserve levels and discharge rates.
Before the crew leaves, ask them to walk you through the system. Understand how to switch between backup mode and self-consumption mode, and ask about any maintenance requirements. Most modern batteries are maintenance-free and last 10 to 15 years, but knowing the warranty terms is essential. Most manufacturers offer a 10 year warranty that guarantees a certain level of capacity retention, so keep your paperwork organized.
Optimizing Your Battery for Maximum Savings
Your battery will not automatically save you money unless you configure it properly. The most important setting is your backup reserve, which is the percentage of battery capacity you keep in reserve for outages. If you live in an area with frequent storms, you might set this to 30% or 40%. If you are optimizing purely for savings, you can set it lower, around 10%, so you have more usable capacity each day.
You should also pay attention to your utility's rate structure. If you have time-of-use rates, configure your battery to discharge during peak hours, typically late afternoon and evening. Many batteries have smart features that automatically detect peak times and adjust accordingly. For example, the Tesla app allows you to set a custom schedule that aligns with your utility's tariff.
Monitoring your system monthly helps you spot issues early. Check that your battery is cycling regularly and that your solar production matches your expectations. If your battery seems to be draining faster than expected or not holding a full charge, contact your installer. Small problems are easy to fix if caught early, but they can become expensive if ignored.
Common Mistakes to Avoid
One of the most common mistakes homeowners make is undersizing their battery. If you buy a 5 kWh battery when your evening usage is 15 kWh, you will still rely heavily on the grid. Work with your installer to analyze your usage data and choose a battery that covers your critical loads or your average evening consumption. A larger battery costs more, but it delivers proportional benefits.
Another mistake is ignoring the manufacturer's warranty terms. Some batteries require annual inspections to keep the warranty valid, while others void coverage if you exceed certain temperature ranges. Read the fine print and follow the maintenance schedule. It is also wise to register your battery with the manufacturer immediately after installation, so you have proof of purchase and start date.
Finally, do not forget about permits and inspections. Your installer should pull the necessary permits and schedule the required inspections, but confirm this before work begins. An unpermitted installation can cause problems when you sell your home or file an insurance claim. A professional installer will handle all of this, but it is your responsibility to verify that the work is done legally.
Choosing the Right Installer for Your Retrofit
Retrofitting a battery is more complex than a new solar installation, because the crew must work around existing equipment. You need an installer who understands your specific inverter and panel configuration. Ask potential installers about their experience with battery retrofits specifically, and request references from similar projects. A good installer will also help you evaluate your utility's net metering policy and design a system that maximizes your savings.
When you compare quotes, look beyond the total price. Examine the equipment brand, the warranty terms, and the installation timeline. The cheapest quote is not always the best value, especially if it uses lesser-known battery models or offers a shorter warranty. We have a detailed guide that explains how to compare solar quotes, and the same principles apply to storage retrofits. Also, be sure to verify that your installer is licensed and insured in your state.
One reliable way to find vetted professionals is to use a quote comparison service. These platforms connect you with up to three certified installers who are pre-screened for quality and insurance. This approach saves you time and gives you confidence that you are working with legitimate companies. You can also ask your original solar installer if they offer battery retrofits, since they already know your system well and can often provide a competitive price.
Getting Started with Your Battery Project
Adding a battery to your existing solar array is one of the smartest upgrades you can make. It increases your energy independence, protects you from rising utility rates, and provides backup power when you need it most. The process requires some planning, but the payoff is substantial. Start by reviewing your energy bills, checking your inverter type, and researching local incentives. Then reach out to a few installers for quotes.
If you want to dig deeper into how your current system interacts with the grid, our article on the on grid solar system explains the technical details in plain language. For a broader view of the market and emerging battery technologies, resources like SolarEnergy.ai offer helpful analyses and cost calculators. The more you understand, the better decisions you will make.
Your solar panels have already proven their value. Now it is time to take the next step and make your home truly self-sufficient. Whether you want to avoid peak rates, keep the lights on during a storm, or simply use more of the clean energy you generate, a battery is the missing piece. Reach out to a certified installer today and get a quote for your home. The future of energy is not just solar, it is solar with storage.