
Home Solar Site Assessment Checklist Before You Buy
Use this home solar site assessment checklist before you buy to avoid costly mistakes and maximize savings. Call 8332123715 for expert guidance today.

By Alexia Mabel
Learn more about Solar Panel Installation and Repair for guides, costs, and what to expect.
Compare Solar Panel Installation and Repair Pros Near You

Enter your ZIP code to compare top-rated local professionals and request free quotes.
Going solar is one of the most impactful investments a homeowner can make, but the difference between a system that performs beautifully for 25 years and one that underdelivers often comes down to what happens before the first panel is ever mounted. A proper home solar site assessment is the foundation of every successful installation. It determines whether your roof can handle the load, how much sunlight your property actually receives, where shading will steal your production, and what your utility will require before it lets you flip the switch. Skipping this step, or trusting a quick satellite scan from a pushy salesperson, is how homeowners end up with oversized systems, surprise bills, and warranties that never pay out.
This guide walks through a complete home solar site assessment checklist before you buy, covering everything from roof integrity and solar access to electrical capacity, permitting, and the fine print that determines your real return on investment. Whether you are in the early research phase or comparing installer proposals, use these checkpoints to protect your money and your peace of mind. If you want to understand how production translates into dollars before you commit, our guide on how to calculate solar savings accurately pairs well with the physical assessment steps below.
Start With a Roof and Structural Evaluation
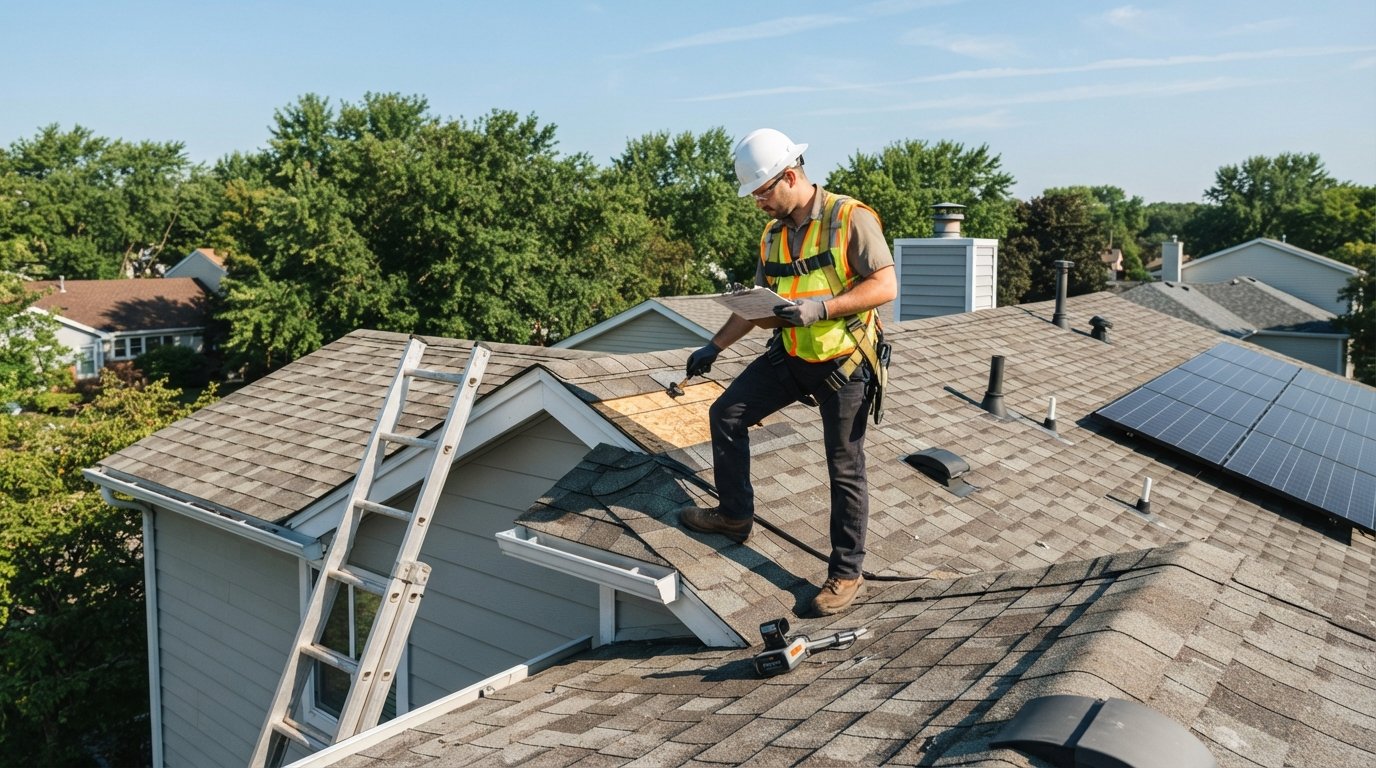
Your roof is the platform for your entire solar investment, so it deserves the first and most careful look. Solar panels are designed to last 25 to 30 years, and they add roughly 2 to 4 pounds per square foot of dead load to your roof structure. If your roof has less than 10 years of remaining life, you will likely need to replace it before installation, because removing and reinstalling panels later can cost thousands of dollars in labor. An assessor should examine the age of the shingles, the condition of flashing around chimneys and vents, and any signs of sagging, leaks, or previous storm damage.
Material matters too. Asphalt shingle roofs are the most common and easiest to work with. Standing seam metal roofs are excellent because clamps attach without drilling. Tile and slate roofs look beautiful but require specialized mounting hardware and more careful handling, which raises labor costs. Flat roofs need ballasted or tilted racking systems to achieve the right angle. During the assessment, ask the inspector to document the roof's pitch, since steeper roofs increase installation difficulty, and to confirm the structural framing can support the added weight.
Here are the key roof-related items to verify before signing any contract:
- Roof age and remaining lifespan, with replacement recommended if under 10 years remain
- Roofing material and its compatibility with standard mounting hardware
- Structural integrity, including rafters, trusses, and any prior repair history
- Existing penetrations such as skylights, vents, and chimneys that limit usable space
- Warranty implications, since some roof warranties are voided by third-party attachments
Once the roof passes inspection, the assessment moves to the next critical variable: how much sun your property actually receives and when. A roof in perfect condition still fails as a solar site if trees, hills, or neighboring buildings block the sun during peak production hours.
Measure Solar Access, Shading, and Orientation
Solar access describes the amount of unobstructed sunlight your proposed array receives throughout the year. In the northern hemisphere, south-facing roofs deliver the highest annual production, while east and west facing roofs produce roughly 15 to 25 percent less but can still make excellent financial sense, especially in locations with time-of-use rates that reward afternoon generation. The ideal tilt usually matches your latitude, though most residential systems use roof pitch and accept minor efficiency losses.
Shading is the silent killer of solar performance. A single tree branch casting a shadow across one panel can reduce the output of an entire string in older system designs. Modern optimizers and microinverters mitigate this by managing each panel independently, but they cannot create sunlight where none exists. A thorough assessment uses tools like a Solmetric SunEye, a Solar Pathfinder, or drone imagery combined with software modeling to map shading hour by hour across all four seasons. Do not accept a simple satellite image review as a substitute, because satellites cannot see through trees or capture winter sun angles.
Pay attention to future shading as well. A young oak tree ten feet from your roof may be harmless today and a production disaster in eight years. Ask the assessor to model tree growth, and check local ordinances before planning any trimming, since some municipalities protect mature trees. If shading proves unavoidable, a ground-mounted array in an open part of the yard may outperform a roof installation, provided you have the space and the zoning allows it.
Audit Your Electrical System and Energy Usage
The solar array is only half the system. The other half is your home's electrical infrastructure, and it must be ready to accept the power your panels produce. Most residential systems connect through a net metering arrangement, where excess electricity flows back to the grid and spins your meter backward. That connection requires an inverter, a rapid shutdown device, disconnects, and often an upgraded electrical panel.
Many older homes have 100-amp service panels that cannot safely accommodate a solar backfeed. The National Electrical Code limits solar backfeed to 120 percent of the busbar rating, so a 100-amp panel may cap your system size at well below what your roof could hold. Upgrading to a 200-amp panel typically costs between 1,500 and 4,000 dollars, and that expense belongs in your assessment, not in a surprise invoice after installation begins. The assessor should photograph your main panel, note the breaker layout, and confirm whether the meter socket and wiring meet current code.
Equally important is understanding how much electricity you actually consume. A site assessment that ignores your usage history produces a system sized for guesswork rather than results. Gather 12 months of utility bills and calculate your average daily kilowatt-hour consumption, then identify your largest loads, such as air conditioning, electric vehicles, pool pumps, and heat pumps. If you plan to add an EV charger or convert to a heat pump water heater, tell the assessor now, because future usage should influence today's system design. Nothing wastes money faster than a system that is too small to cover your needs or so oversized that the utility pays you pennies for exported power.
Review the Site Plan, Permits, and Utility Requirements
Every legitimate solar project passes through a permitting and interconnection process, and the site assessment should anticipate each step. Your local building department will review structural and electrical plans, your utility will approve the interconnection application, and in some jurisdictions you will need HOA approval before a single panel is ordered. HOAs cannot outright ban solar in many states, but they can impose reasonable aesthetic restrictions on panel placement and visibility.
Ask your installer which party handles each of the following, and get it in writing:
- Site survey and structural engineering documentation
- Building permit application and inspection scheduling
- Utility interconnection agreement and net metering enrollment
- HOA architectural review submission, if applicable
- Final inspection, permission to operate, and system activation
The permission to operate letter is the milestone that allows your system to legally generate power, and delays here can stretch weeks or months beyond the physical installation. A well-prepared assessment identifies potential bottlenecks early, such as a utility with a slow interconnection queue or a historic district with strict design review. Understanding these local variables also affects your financial outlook, which is why comparing quotes from vetted providers matters so much. Platforms like FreeSolarPowerQuotes connect homeowners with reputable third-party installers and provide free, no-obligation quotes, making it easier to see how different companies handle permitting, equipment, and warranties before you commit.
Confirm Financial Assumptions and Warranty Coverage
A solar site assessment is not complete until the numbers behind the proposal have been stress-tested. Production estimates should come from modeling software such as Aurora Solar or Helioscope, not from optimistic sales sheets. Ask for the projected annual production in kilowatt-hours, the assumed utility rate escalation, and the expected degradation rate of the panels, typically around 0.5 percent per year. If a proposal claims your bill will disappear entirely, ask how the installer accounted for fixed charges, minimum bills, and periods of heavy snow or cloud cover.
Incentives deserve the same scrutiny. The federal residential clean energy credit covers a percentage of system cost, but state and utility rebates vary widely and change frequently. Verify current programs with your state energy office and your utility, and confirm whether your installer will handle the paperwork or leave it to you. Financing terms also deserve a close read: a solar loan with a low headline rate may carry dealer fees that inflate the total price, and a lease or power purchase agreement may complicate selling your home later.
Finally, examine the warranty stack. You should see separate coverage for panels (product and performance), inverters, racking, workmanship, and roof penetration. Workmanship warranties typically run 5 to 10 years and are only as strong as the company backing them, so check the installer's license, insurance, and local reputation. A complete assessment leaves you with a documented system design, a realistic production forecast, a clear financial picture, and a written scope of work that matches what will actually be installed on your roof.
Taking the time to complete this home solar site assessment checklist before you buy turns a high-pressure sales pitch into a transparent engineering and financial review. Walk your property with the assessor, ask questions, request documentation, and compare at least three proposals before signing. The homeowners who get the best results are rarely the ones who move fastest; they are the ones who understand their roof, their usage, their utility, and their contract before the first panel arrives.